
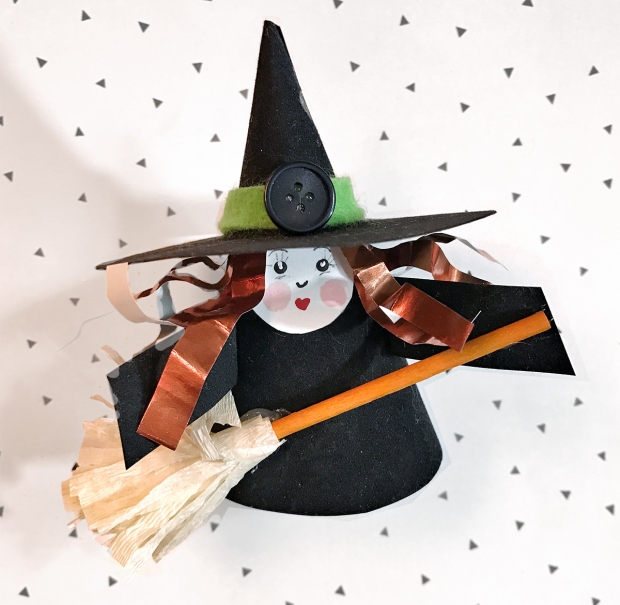
Its officially October. Do you know what that means? It means apple picking, pumpkin pie, candy corn, and Halloween. Make this your spookiest Halloween yet with Hygloss Products. Today we are sharing fun Paper Cone Witches. These sweet witches will add some magic to the classroom, house or party-scape. Just grab some Hygloss supplies such as Velour Paper, Foil Paper, Buttons and You’re Imagination!
Let’s scroll down and make a bunch now before they disappear.
Materials used for tHIS PROJECT:
Hygloss Velour Paper, Black Color
Craft Paint; Black, Light Pink, Red
Craft Glue
Craft Scissors
STEP ONE:

Assemble your necessary materials first!
Cut velour paper into 4 square shapes. Roll one of the squares into a cone shape, glue in place. Cut off any excess. Then draw a large circle shape on the next square and a small 1 inch circle onto art board, cut both shapes out.
STEP TWO:

Place the 1 inch circle shape onto the center of the larger circle and trace. Cut that out of the center.
Cut tiny slits into the center circle.

Notice the notches cut round the inside circle. Important for when you slide this piece onto the cone.
STEP THREE:

Place over the cone shape, at the point and glue in place. This forms the hat.
STEP FOUR:
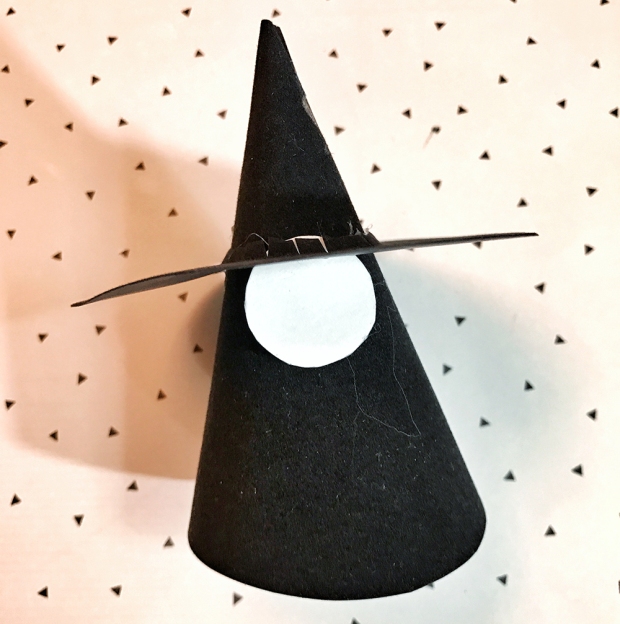
Now we have the base for our homemade witch!
Glue the 1 inch circle shape underneath the hat, in the center of the cone. This creates the face base of your witch.
STEP FIVE:

Cut thin strips of foil paper, cut each strip into 3. Then fold, twist and glue the strips to the cone just beneath the hat base.
STEP SIX:
Paint the face onto the 1 inch shape using craft paint or sharpies.

STEP SEVEN:

Now attach the arms to the cone shape. Do this by cutting 2 small strips of Hygloss Velour Paper. Cut a slit at each end. Glue in place.
STEP EIGHT:
 Create the witches broom using a Hygloss Color Stix and cut pieces of Hygloss tissue paper. When finished attach to the cone shape. Then add a strip of felt and a button to the hat.

Make more than one so that your witch has some witchy friends!
For the second witch we omitted the broom and add sequin stars from a Bucket O’Sequins, Hygloss Products. Get creative and try different colors. Add more sequin shapes, glitter or beads. Create these sweet witches using cardstock, holographic paper, corrugated paper or felt. Add bakery twine or ribbon and turn into an ornament. So many possibilities.
Stay tuned for more spook-tacular projects!!
